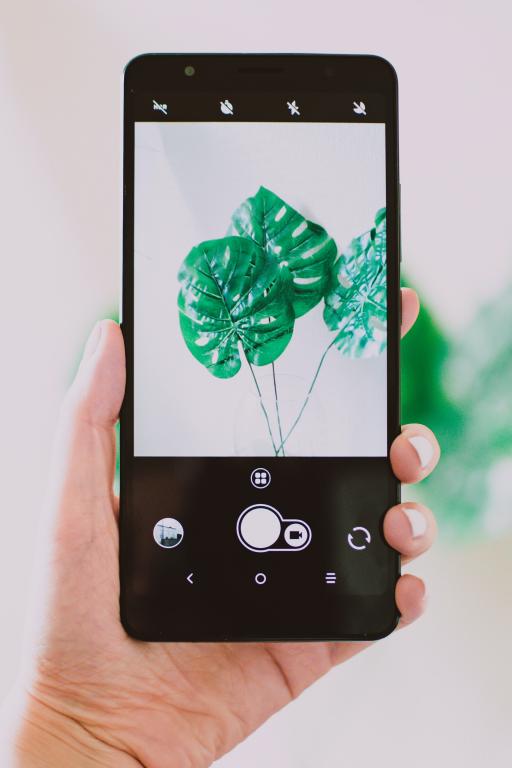
Documentation and Photo Optimization
Documenting your work for web if all you have is a smartphone.
Documenting your work with a smartphone
By: Illingworth Kerr Gallery
What you need
- Phone with camera
- Phone tripod (optional)
- Light source (artificial or natural light)
- White paper / foam core
Advice for shooting indoors
YouTube
LinkedIn Learning (Available to students/staff/faculty via AUArts myApps or free 30-day trial)
- Exposure Basics: Shutter Speed (1 hr, 30 m)
- Enhancing iPhone Photos with Lightroom and Photoshop (1hr, 7m)
If you do have a Digital DSLR, find more helpful tips.
Free photo editing smartphone apps
Snapseed
- Available for iOS and Android
- 29 tools and filters including healing, brush, structure, HDR, perspective
- Opens JPG and RAW files
- Selective brush filter
Snapseed Tools, Filter and Face
- RAW Develop – open and tweak RAW DNG files; save non-destructively or export as JPG
- Tune image – adjust exposure and colour automatically or manually with fine, precise control
- Details – magically brings out surface structures in images
- Crop – crop to standard sizes or freely
- Rotate – rotate by 90°, or straighten a skewed horizon
- Perspective – fix skewed lines and perfect the geometry of horizons or buildings
- White Balance – adjust the colours so that the image looks more natural
- Brush – selectively retouch exposure, saturation, brightness or warmth
- Selective – the renown “Control Point” technology: Position up to eight points on the image and assign enhancements, the algorithm does the rest magically
- Healing – remove the uninvited neighbour from a group picture
- Vignette – add a soft darkness around the corners like a beautiful, wide aperture would do
- Text – add both stylized and plain text
- Curves – have precise control over the brightness levels in your photos
Optimizing images for web
Cheat sheet for image size, file size, and resolution
- Optimal file size: Large images or full-screen background images should be no more than 1 MB
- Resolution for web images: If you have the option, always “save for web” which will give your image a web-friendly resolution
- You can make a large image smaller, but it’s very hard to make a small image bigger
What do you do if your image is too big for your website?
If you have a nice digital camera, you might be taking photos that are
several megabytes large—way bigger than what you need for your
website. If your image is over 1 MB, there are a few things you can do:
- Resize the image: If your photo is 5000 pixels wide, you can easily resize it to 2000 pixels wide, 1200 pixels wide, or even smaller depending on how you plan to use it on your website. This will significantly reduce the file size. When you resize, make sure to keep the proportions the same so you don’t distort your image
- Reduce the resolution: Most photo programs will automatically compress your image resolution to a “web-friendly” size (72dpi and 92dpi, respectively). You can do this in Photoshop too with the "save for web’" option. You can also “save as” in many photo programs and then adjust the quality level from there
- Compress your image: Use a free program like TinyPNG or TinyJPG. Both will significantly reduce your file size without interfering with the quality
Optimizing Images for Web source: https://www.jimdo.com/blog/optimize-website-images-for-better-design-seo/
